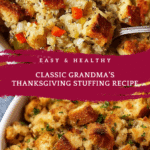
Grandma’s Thanksgiving Stuffing Recipe
If there’s one dish that instantly brings warmth to the Thanksgiving table, it’s Grandma’s Thanksgiving Stuffing. This cherished recipe combines the perfect balance of fragrant herbs, buttery sautéed vegetables, and tender, golden-baked bread cubes, creating a comforting side that feels like a warm hug from your grandmother’s kitchen. Whether you’re a first-time cook or a seasoned pro, this stuffing brings together simple ingredients in a way that’s bound to become a family favorite year after year.
Ingredients You’ll Need
These ingredients are straightforward and familiar, yet each plays a vital role in creating the rich flavor, inviting texture, and beautiful aroma that define Grandma’s Thanksgiving Stuffing. From the fresh herbs that infuse savory notes to the carefully toasted bread cubes that soak up every drop of flavor, every component has its moment to shine.
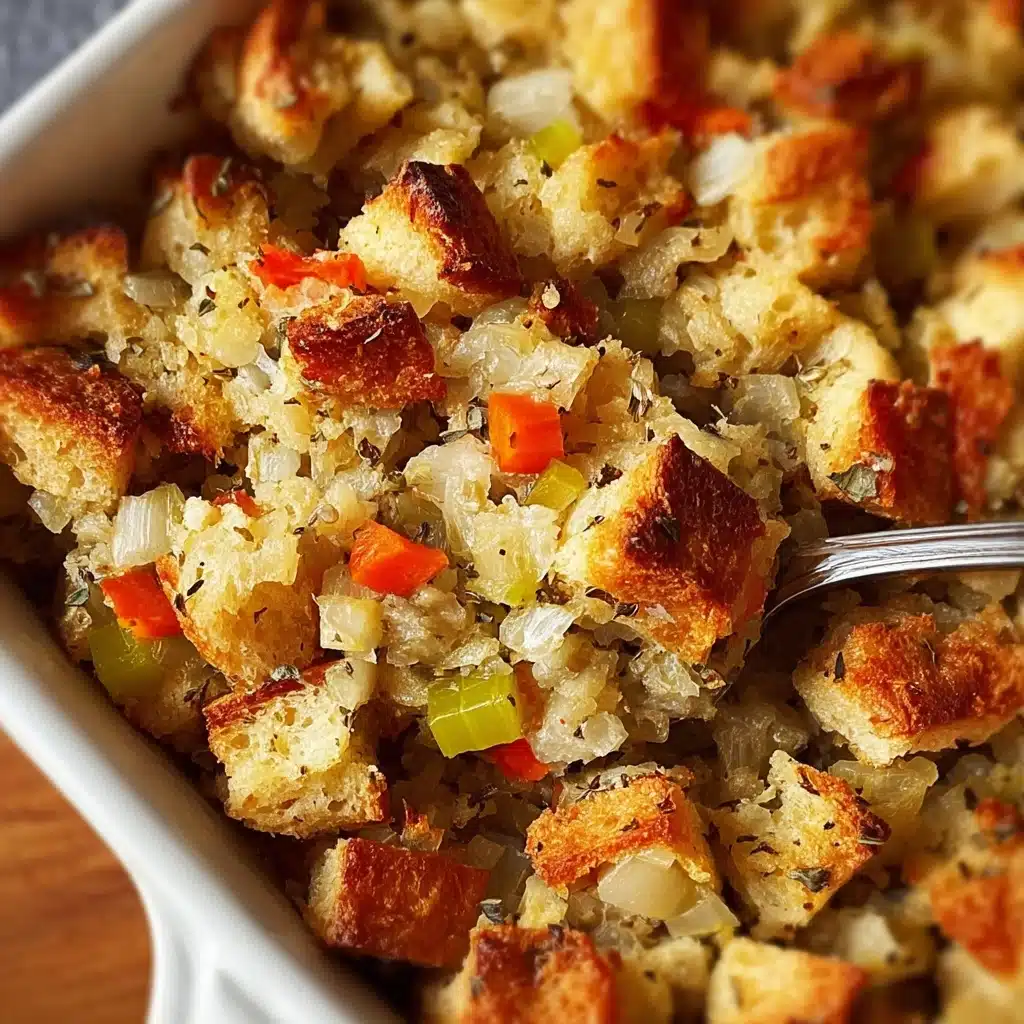
- 1 loaf (about 1 lb) day-old bread, cubed (white, French, or sourdough): The foundation of your stuffing—dry bread holds up well and absorbs all the delicious flavors without turning mushy.
- 1/2 cup unsalted butter: Adds richness and helps sauté the vegetables to tender perfection.
- 1 large onion (chopped): Provides a sweet, aromatic base that complements the herbs.
- 3 celery stalks (chopped): Adds crunch and freshness to balance the softness of the bread.
- 3 cloves garlic (minced): Gives a subtle punch of warmth and depth.
- 2 teaspoons fresh sage (chopped) or 1 teaspoon dried sage: Sage is quintessential in stuffing, offering that earthy, woodsy flavor.
- 2 teaspoons fresh thyme leaves or 1 teaspoon dried thyme: Thyme contributes a gentle lemony note that brightens the dish.
- 1 teaspoon fresh rosemary (chopped) or 1/2 teaspoon dried rosemary: Provides a fragrant pine-like aroma that elevates the stuffing’s profile.
- Salt and black pepper (to taste): Essential for seasoning and bringing all flavors together.
- 2 1/2 to 3 cups chicken or vegetable broth: Moistens the bread to create the perfect texture without sogginess.
- 2 large eggs (beaten): Act as a binder, helping hold the stuffing together as it bakes.
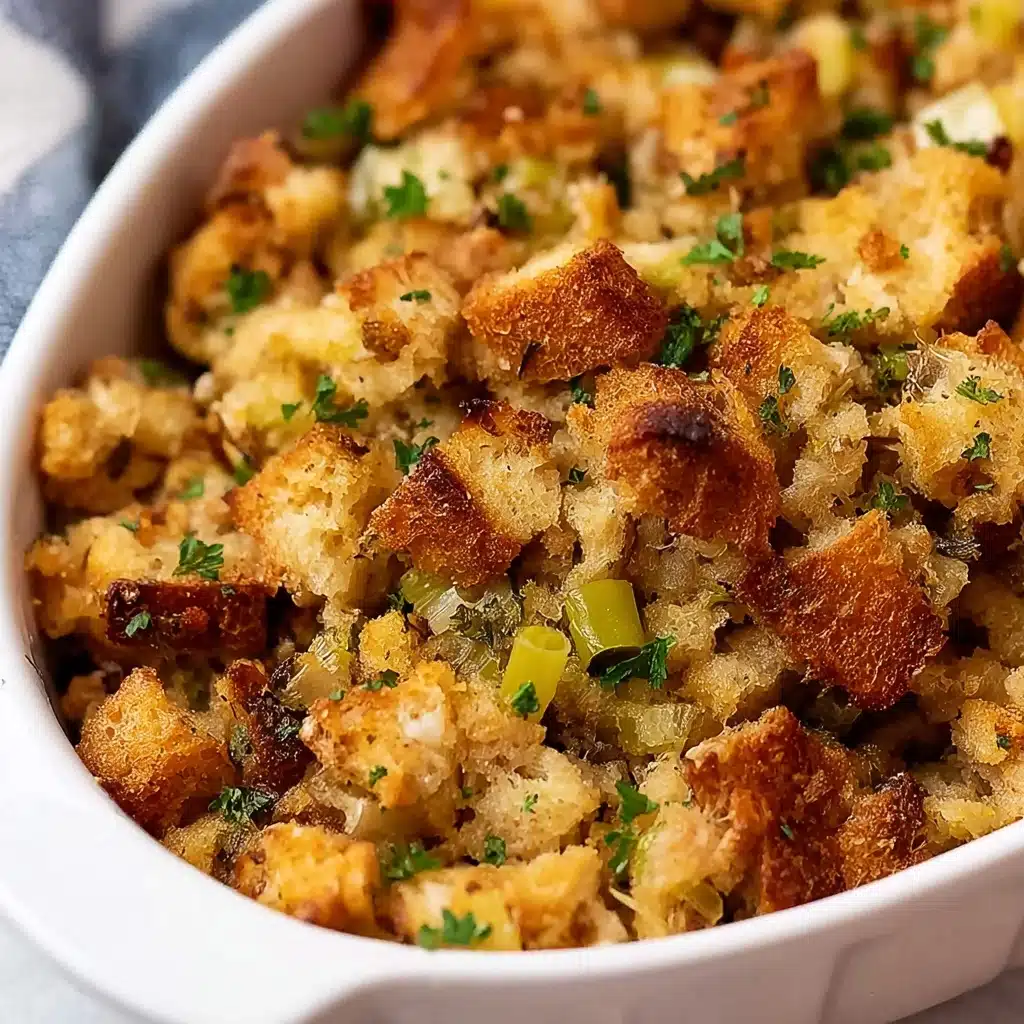
- 1/4 cup fresh parsley (chopped): Adds a fresh pop of color and a hint of brightness to finish off the dish.
How to Make Grandma’s Thanksgiving Stuffing
Step 1: Preheat the Oven and Prepare Your Dish
Start by preheating your oven to 350°F (175°C). While the warmth builds inside, lightly grease a 9×13-inch baking dish or another casserole dish of similar size. This ensures that your stuffing won’t stick and will come out easily once golden and bubbling.
Step 2: Dry the Bread Cubes
Take the cubed bread and spread it out evenly on a baking sheet. Pop it in the oven for 10 to 15 minutes to dry it out just enough. This step is the key to achieving a stuffing that’s moist but never soggy. If you’re planning ahead, you can simply leave the bread out overnight to become perfectly stale.
Step 3: Sauté the Vegetables and Herbs
In a large skillet, melt the butter over medium heat. Toss in the chopped onion and celery and let them soften for about 5 to 7 minutes. This tenderizes the veggies and releases their natural sweetness. Next, add the minced garlic along with the sage, thyme, rosemary, salt, and pepper, cooking everything for another 2 minutes to blend those beautiful aromatic flavors together.
Step 4: Combine All the Ingredients
In a big mixing bowl, gently fold your toasted bread cubes with the fragrant vegetable mixture. Gradually pour in the chicken or vegetable broth, stirring as you go, just enough to moisten the bread without squishing it into mush. Then add the beaten eggs and fresh parsley, folding everything carefully so the eggs coat the mixture evenly, helping it hold together after baking.
Step 5: Bake to Perfection
Transfer your stuffing mixture into the prepared dish and cover it with foil. Bake it in the preheated oven for 30 minutes to heat through and meld flavors. After those 30 minutes, remove the foil and bake for an additional 15 to 20 minutes until the top is beautifully golden and slightly crispy—the perfect texture contrast between crunchy crust and tender inside.
Step 6: Serve Your Classic Side
Give your stuffing a few minutes to cool slightly once out of the oven. This allows it to set nicely, making it easier to serve generous scoops that hold together. Now, get ready to delight everyone around the table with a warm, inviting taste of tradition.
How to Serve Grandma’s Thanksgiving Stuffing
Garnishes
For a simple yet elegant touch, sprinkle some extra fresh parsley or a few finely chopped fresh herbs right before serving. A light drizzle of melted butter on top adds extra gloss and richness, making every bite feel even more indulgent.
Side Dishes
This stuffing is spectacular alongside a classic roast turkey, of course, but it pairs beautifully with other Thanksgiving favorites too. Think creamy mashed potatoes, vibrant green beans almondine, or tangy cranberry sauce to balance the savory flavors. It can truly be the comforting star or a perfect supporting player.
Creative Ways to Present
If you want to elevate your presentation, serve the stuffing inside hollowed-out acorn squash or stuffed mushrooms for individual portions. Another idea is to shape the stuffing into patties and pan-fry them for crispy edges, creating a delightful twist on the traditional dish that’s sure to impress.
Make Ahead and Storage
Storing Leftovers
Your Grandma’s Thanksgiving Stuffing leftovers will stay fresh in an airtight container in the refrigerator for up to 3 days. When properly stored, the flavors continue to meld beautifully, making reheated servings just as delightful as freshly baked.
Freezing
Want to save some for later? You can freeze the stuffing either before or after baking. Just wrap it tightly with plastic wrap and foil, or place it in a freezer-safe container. It will keep well for up to 2 months—perfect for ready-made comfort food on a busy night.
Reheating
To reheat, thaw frozen stuffing in the refrigerator overnight. Warm it in the oven at 350°F (175°C), covered with foil, for about 20 minutes, then uncover and heat another 10 minutes to re-crisp the top. For refrigerated leftovers, a quick oven reheating the same way preserves that wonderful texture we all love.
FAQs
Can I use gluten-free bread for Grandma’s Thanksgiving Stuffing?
Absolutely! Just make sure the gluten-free bread is sturdy and slightly stale for the best texture. It may absorb broth differently, so add broth gradually and keep an eye on moisture levels.
Can this stuffing be made vegetarian?
Yes, simply use vegetable broth instead of chicken broth. The deep flavors from the herbs and sautéed vegetables still deliver a hearty, satisfying taste perfect for vegetarians.
Is it okay to prepare the stuffing mixture the day before baking?
Definitely! You can prepare and assemble the stuffing the day before, store it covered in the fridge, and bake it fresh on Thanksgiving day to save time.
What type of bread is best for stuffing?
Day-old white, French, or sourdough bread all work beautifully. The key is stale bread that absorbs liquid without turning to mush, providing that classic stuffing texture.
Can I add extras like sausage or nuts?
For sure! Many enjoy adding cooked sausage, toasted pecans, or dried cranberries to customize Grandma’s Thanksgiving Stuffing to their family’s taste. Just cook any meats ahead and fold in before baking.
Final Thoughts
There’s nothing quite like the comfort found in a warm dish of Grandma’s Thanksgiving Stuffing. Its timeless flavors and welcoming aroma invite everyone to gather around the table and savor a moment of togetherness. I truly hope you try making this recipe—it’s a heartfelt way to create new memories while honoring delicious traditions.