
Samoa Truffles: A Decadent Coconut-Caramel Chocolate Delight Recipe
Introduction
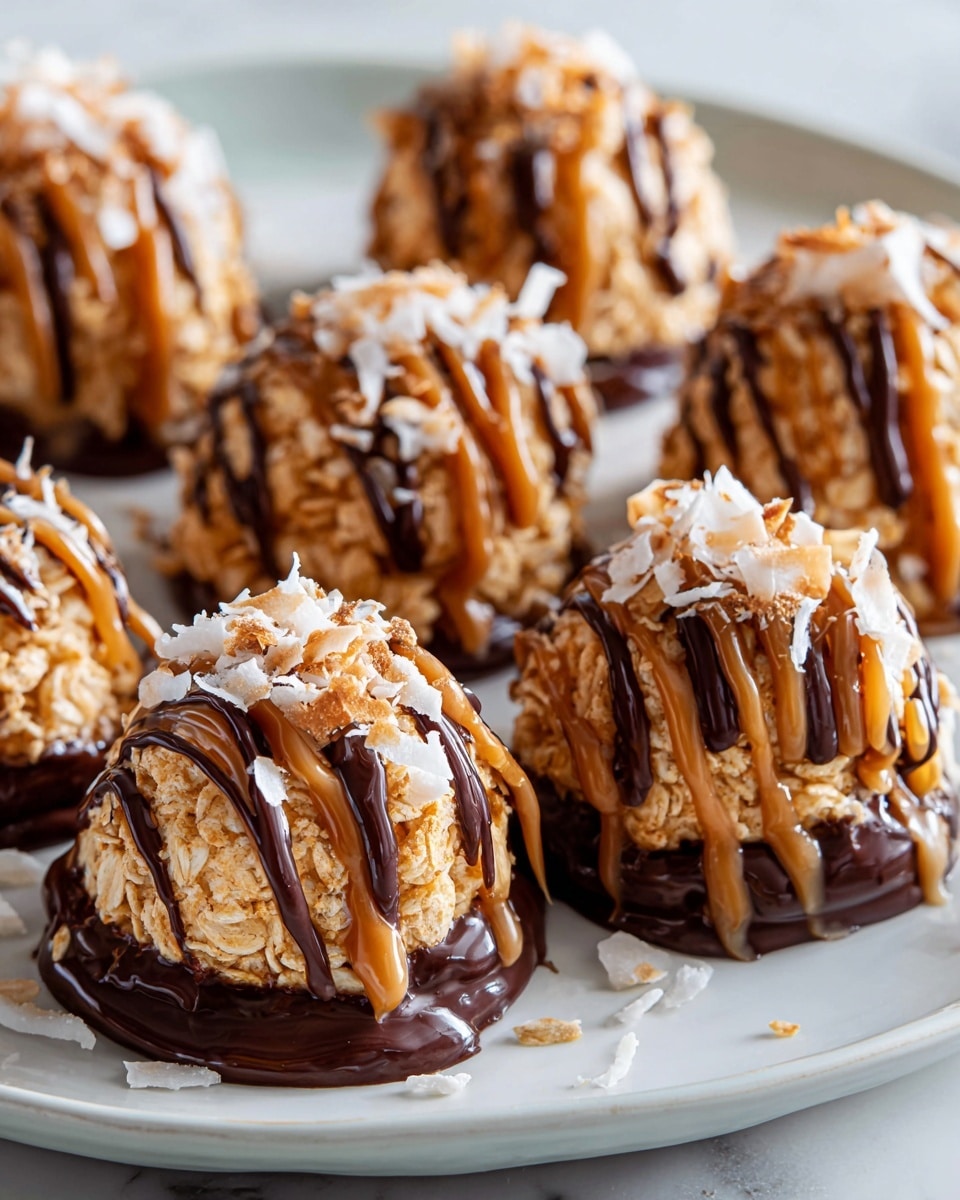
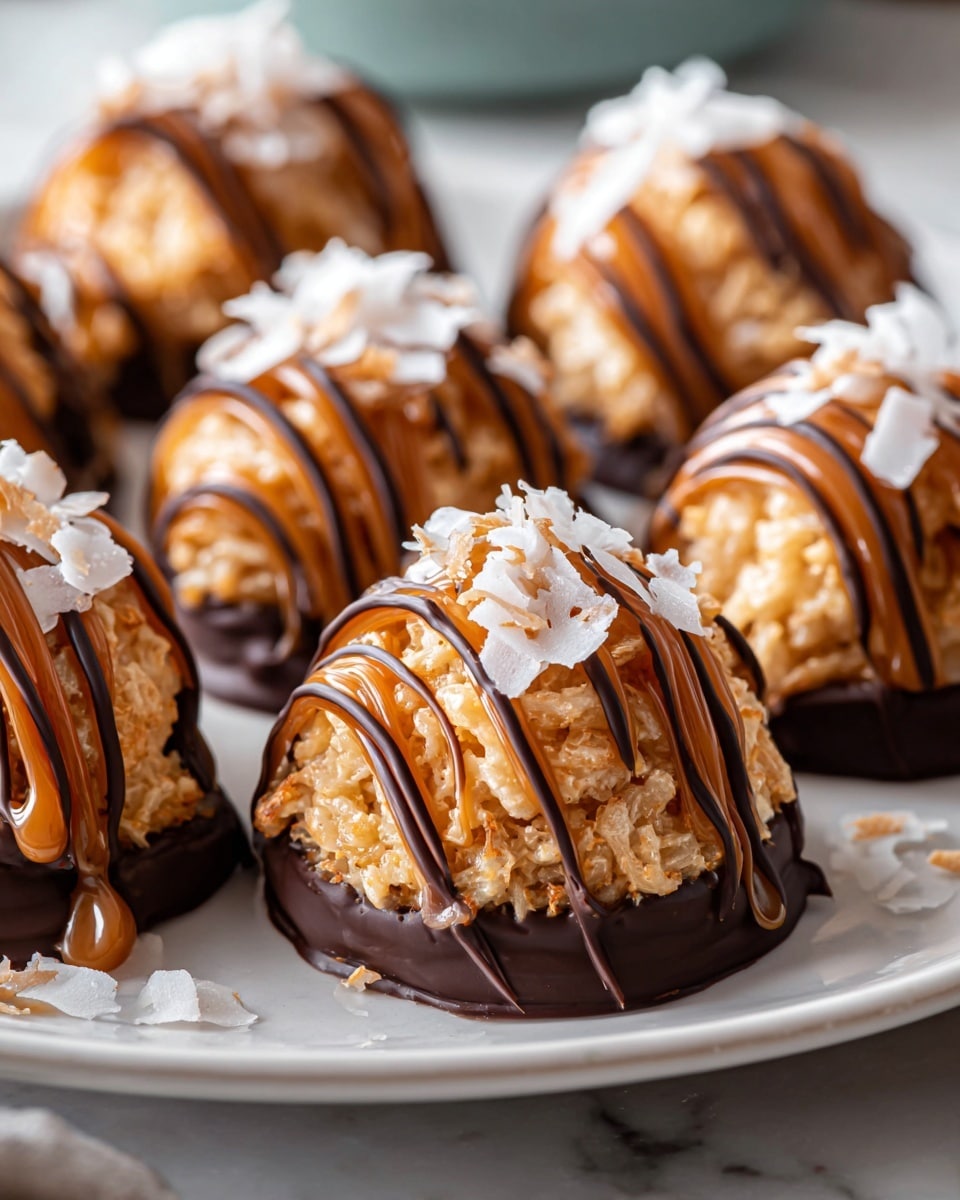
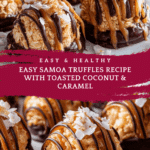
Samoa Truffles are a delightful treat inspired by the classic cookie flavors of caramel, coconut, and chocolate. These bite-sized desserts combine toasted coconut and rich caramel, all coated in smooth semisweet chocolate. They’re perfect for satisfying your sweet tooth or sharing at gatherings.
Ingredients
- 1 cup shredded coconut (sweetened or unsweetened)
- 1 cup caramel sauce (store-bought or homemade)
- 1/2 cup graham cracker crumbs
- 1/2 teaspoon vanilla extract
- 1 cup semisweet chocolate chips (for coating)
- 1 tablespoon coconut oil (optional, for smoothness)
- Extra shredded coconut for rolling (optional)
Instructions
- Step 1: In a dry skillet over medium heat, toast the shredded coconut until golden brown, stirring frequently to avoid burning (about 5-7 minutes). Remove from heat and let cool.
- Step 2: In a mixing bowl, combine the toasted coconut, caramel sauce, graham cracker crumbs, and vanilla extract. Mix until well combined.
- Step 3: Using your hands, take small portions of the mixture and roll them into balls about 1 inch in diameter. Place on a parchment-lined baking sheet.
- Step 4: Place the baking sheet in the refrigerator for about 30 minutes to allow the truffles to firm up.
- Step 5: In a microwave-safe bowl, combine the semisweet chocolate chips and coconut oil (if using). Microwave in 30-second intervals, stirring in between, until the chocolate is completely melted and smooth.
- Step 6: Remove the chilled truffles from the refrigerator. Using a fork or toothpick, dip each truffle into the melted chocolate, allowing any excess chocolate to drip off.
- Step 7: Return the coated truffles to the baking sheet lined with parchment paper.
- Step 8: If desired, sprinkle additional toasted coconut on top of the chocolate-coated truffles before the chocolate sets.
- Step 9: Place the baking sheet back in the refrigerator for about 30 minutes, or until the chocolate is set.
- Step 10: Once set, enjoy your Samoa Truffles or store them in an airtight container.
Tips & Variations
- Use unsweetened coconut for a less sweet, more natural flavor.
- Substitute caramel sauce with dulce de leche for a richer taste.
- Add a pinch of sea salt on top of the chocolate before it sets to enhance the flavors.
- For a faster set, place the truffles in the freezer instead of the refrigerator.
Storage
Store Samoa Truffles in an airtight container in the refrigerator for up to one week. For longer storage, freeze them for up to 3 months. When ready to eat, let frozen truffles thaw in the refrigerator for about 30 minutes. Reheat is not recommended as it may alter the texture.
How to Serve
Serve this delicious recipe with your favorite sides.
FAQs
Can I use homemade caramel sauce for this recipe?
Yes, homemade caramel sauce works beautifully and can add a personalized touch to your truffles. Just ensure it is thick enough to hold the mixture together.
What if I don’t have coconut oil for melting the chocolate?
You can melt the chocolate chips without coconut oil, but adding a small amount helps achieve a smoother consistency and easier dipping. If omitted, melt slowly and stir well to prevent burning.
Print
Samoa Truffles: A Decadent Coconut-Caramel Chocolate Delight Recipe
- Total Time: 1 hour 10 minutes
- Yield: About 20 truffles 1x
Description
Samoa Truffles are a luscious and indulgent dessert inspired by the flavors of the classic Samoa cookie. These bite-sized treats combine toasted shredded coconut, rich caramel, and crunchy graham cracker crumbs, all enveloped in a smooth semisweet chocolate coating. Easy to make and irresistibly delicious, they are perfect for special occasions or whenever you crave a decadent sweet treat.
Ingredients
Truffle Base
- 1 cup shredded coconut (sweetened or unsweetened)
- 1 cup caramel sauce (store-bought or homemade)
- 1/2 cup graham cracker crumbs
- 1/2 teaspoon vanilla extract
Chocolate Coating
- 1 cup semisweet chocolate chips
- 1 tablespoon coconut oil (optional, for smoothness)
- Extra shredded coconut for rolling (optional)
Instructions
- Toast the Coconut: In a dry skillet over medium heat, toast the shredded coconut until golden brown, stirring frequently to avoid burning. This process takes about 5 to 7 minutes. Once toasted, remove the skillet from heat and allow the coconut to cool completely.
- Mix Ingredients: In a mixing bowl, combine the cooled toasted coconut with caramel sauce, graham cracker crumbs, and vanilla extract. Stir thoroughly until the mixture is well blended and sticky enough to form balls.
- Shape the Mixture: Using your hands, scoop small portions of the mixture and roll them into approximately 1-inch diameter balls. Arrange these balls on a baking sheet lined with parchment paper.
- Chill: Place the baking sheet in the refrigerator for about 30 minutes to let the truffles firm up, making them easier to dip.
- Melt Chocolate: In a microwave-safe bowl, combine the semisweet chocolate chips and coconut oil if using. Microwave in 30-second intervals, stirring between each, until smooth and fully melted.
- Dip the Truffles: Remove the truffles from the refrigerator. Use a fork or toothpick to dip each truffle into the melted chocolate, allowing excess chocolate to drip off before placing it back onto the parchment-lined baking sheet.
- Sprinkle Coconut (Optional): While the chocolate is still wet, sprinkle additional toasted coconut on top of each truffle to add texture and flavor.
- Chill Again: Return the baking sheet to the refrigerator and chill for another 30 minutes or until the chocolate coating is completely set.
- Serve: Once the chocolate is firm, your Samoa Truffles are ready to enjoy. Store any leftovers in an airtight container in the refrigerator to maintain freshness.
Notes
- Use sweetened or unsweetened shredded coconut depending on your preference; sweetened adds extra sweetness.
- For best results, toast the coconut evenly by stirring constantly to prevent burning.
- Coconut oil in the chocolate helps create a smoother, shinier coating but can be omitted if preferred.
- If you don’t have caramel sauce, you can make a quick caramel by melting sugar with butter and cream.
- Store truffles in the refrigerator for up to one week or freeze for longer storage.
- Prep Time: 15 minutes
- Cook Time: 10 minutes
- Category: Dessert
- Method: Stovetop
- Cuisine: American
Keywords: Samoa Truffles, coconut truffles, chocolate caramel dessert, no bake truffles, homemade candy, sweet treats


