
Vegan No-Churn Creme Brulee Ice Cream Recipe
Introduction
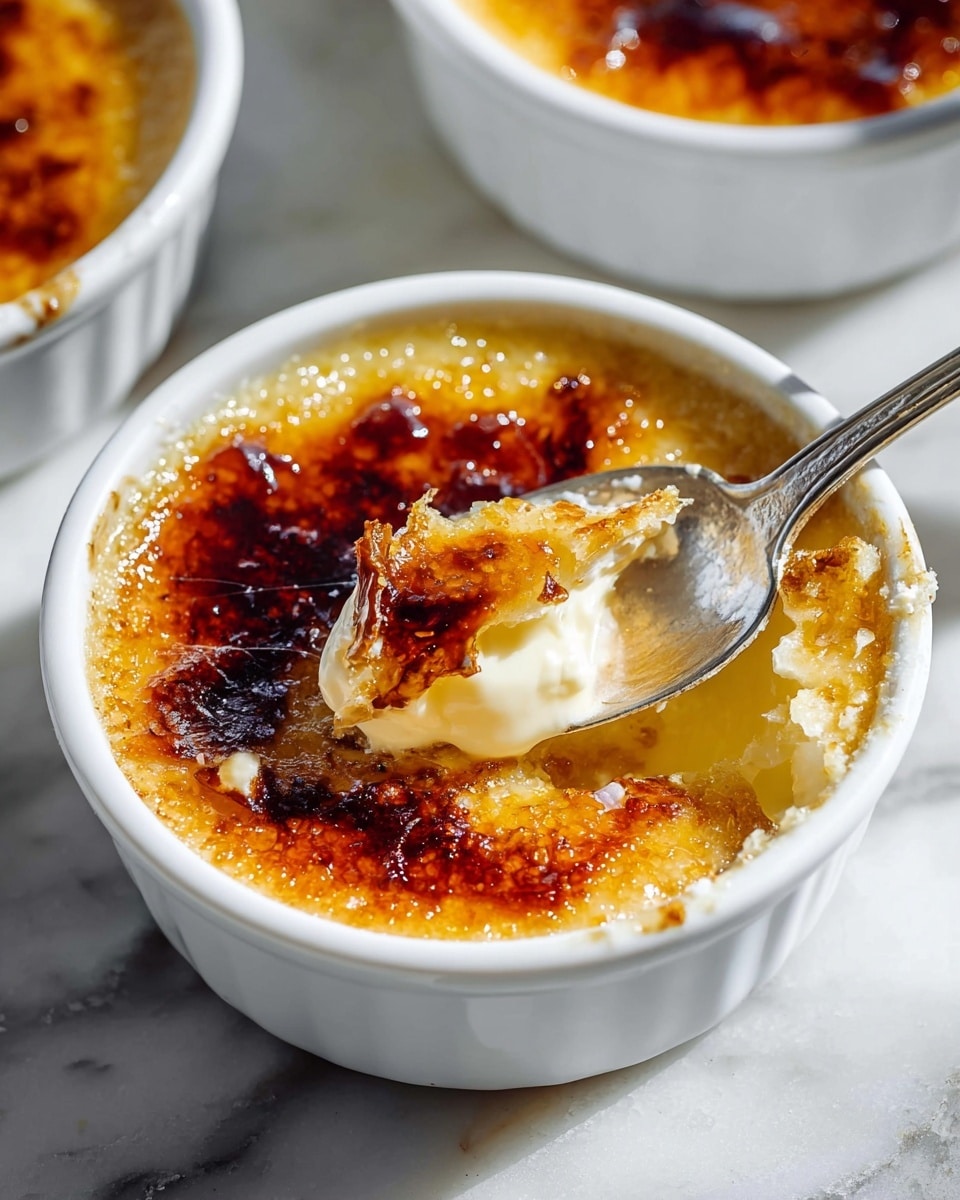
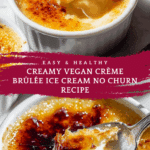
This Vegan Crème Brûlée Ice Cream combines the creamy richness of traditional crème brûlée with the cool refreshment of ice cream, all without the need for churning. Perfect for a dairy-free dessert that impresses with its smooth texture and caramelized sugar topping.

Ingredients
- 420 ml soy milk
- 30 g cornstarch
- 240 g vegan condensed milk
- 1 vanilla pod
- ¼ teaspoon sea salt
- 400 ml vegan whipping cream, chilled overnight
- 60 g granulated sugar
Instructions
- Step 1: In a saucepan, combine the soy milk, cornstarch, and vegan condensed milk. Whisk well to break up any lumps. Cut the vanilla pod in half lengthwise and scrape out the seeds. Add both the seeds and the pod to the saucepan.
- Step 2: Heat the mixture over low to medium heat, gently simmering for about 5 minutes. Continuously whisk until the custard thickens and coats the back of a spoon.
- Step 3: Strain the custard through a fine-mesh sieve into a medium bowl to remove the vanilla pod and any solids.
- Step 4: Cover the custard surface directly with plastic wrap and chill in the refrigerator for 1 hour.
- Step 5: In a large bowl, whip the chilled vegan whipping cream using an electric or stand mixer until light and fluffy.
- Step 6: Whisk the chilled custard briefly and then fold it gently into the whipped cream using a rubber spatula until fully combined.
- Step 7: Spoon the mixture into 4 to 8 ramekins. Cover and freeze for at least 4 hours until firm.
- Step 8: Before serving, let the ice cream soften at room temperature for 10–15 minutes. Sprinkle an even layer of granulated sugar on top of each portion. Use a blowtorch to caramelize the sugar, creating a crisp, browned topping.
Tips & Variations
- For a different flavor, swap the vanilla pod for 1 teaspoon of vanilla extract added after heating the custard.
- If you don’t have a blowtorch, place the sugar-topped ramekins under a hot broiler for 1–2 minutes, watching carefully to avoid burning.
- Use coconut or oat milk as a soy-free alternative, but results may vary slightly in texture.
- Make sure the vegan whipping cream is well chilled for easier whipping and better volume.
Storage
Store the ice cream covered in the freezer for up to one week. Let it sit at room temperature for 10–15 minutes before serving to soften slightly. It’s best to add the caramelized sugar topping just before serving to keep it crisp.
How to Serve
Serve this delicious recipe with your favorite sides.
FAQs
Can I make this ice cream without a blowtorch?
Yes, you can caramelize the sugar topping using your oven’s broiler. Place the ramekins under the broiler for 1 to 2 minutes and watch closely to prevent burning.
Is this recipe completely dairy-free?
Yes, this recipe uses vegan ingredients including soy milk, vegan condensed milk, and vegan whipping cream, making it suitable for those avoiding dairy.
Print
Vegan No-Churn Creme Brulee Ice Cream Recipe
- Total Time: 4 hours 40 minutes
- Yield: 4 servings 1x
- Diet: Vegan
Description
This Vegan Creme Brulee Ice Cream is a luscious, no-churn frozen dessert that combines the creamy richness of classic crème brûlée with a dairy-free twist. Made using soy milk, vegan condensed milk, and vegan whipping cream, this recipe features a delicate vanilla custard base thickened with cornstarch and finished with a caramelized sugar topping crafted with a blowtorch. Perfect for vegans and those seeking a delightful, plant-based frozen treat with minimal fuss.
Ingredients
Custard Base
- 420 ml soy milk
- 30 g cornstarch
- 240 g vegan condensed milk
- 1 vanilla pod
- ¼ teaspoon sea salt
Whipped Cream
- 400 ml vegan whipping cream (chilled overnight)
- 60 g granulated sugar
Instructions
- Prepare Custard Mixture: Add the soy milk, cornstarch, and vegan condensed milk to a saucepan and whisk thoroughly to remove any lumps. Cut the vanilla pod lengthwise, scrape out the seeds, then add both the seeds and the pod to the saucepan. Place the pan on medium heat.
- Simmer Custard: Gently simmer the mixture on low-medium heat, whisking continuously for about 5 minutes until the custard thickens enough to coat the back of a spoon.
- Strain Custard: Pass the custard through a fine-mesh sieve into a medium bowl to remove the vanilla pod and any residues for a smooth texture.
- Chill Custard: Cover the surface of the custard with plastic wrap, ensuring it touches the custard to prevent a skin from forming, and chill in the refrigerator for one hour.
- Whip Vegan Cream: In a large bowl, whip the chilled vegan whipping cream with an electric mixer or stand mixer until it becomes light and fluffy.
- Combine Custard and Cream: Whisk the chilled custard briefly, then fold it gently into the whipped cream using a rubber spatula until evenly combined, maintaining the fluffy texture.
- Freeze Ice Cream: Transfer the mixture into 4 to 8 ramekins, cover them, and freeze for at least 4 hours until set.
- Caramelize Sugar Topping: Before serving, let the ice cream sit at room temperature for 10-15 minutes to soften slightly. Sprinkle granulated sugar evenly on top of each ramekin, then use a kitchen blowtorch to caramelize the sugar until it becomes golden brown and bubbly, creating the signature crunch of crème brûlée.
Notes
- Use soy milk and vegan condensed milk for a creamy, dairy-free base.
- Chilling the vegan whipping cream overnight ensures it whips better and holds volume.
- Scraping the vanilla pod seeds intensifies the custard’s vanilla flavor.
- Ensure constant whisking during simmering to prevent lumps and burning.
- The blowtorch caramelizes the sugar topping and should be handled with care to avoid burns or fire hazards.
- If a blowtorch is unavailable, a very hot broiler can be used briefly to caramelize sugar but watch closely to avoid burning.
- Prep Time: 30 minutes
- Cook Time: 10 minutes
- Category: Dessert
- Method: Stovetop
- Cuisine: Vegan, International
Keywords: vegan dessert, no churn ice cream, crème brûlée ice cream, dairy-free ice cream, vegan custard, plant-based dessert, vanilla ice cream, caramelized sugar topping
