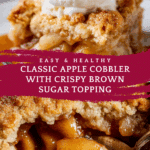
Easy Recipe for Apple Cobbler Recipe
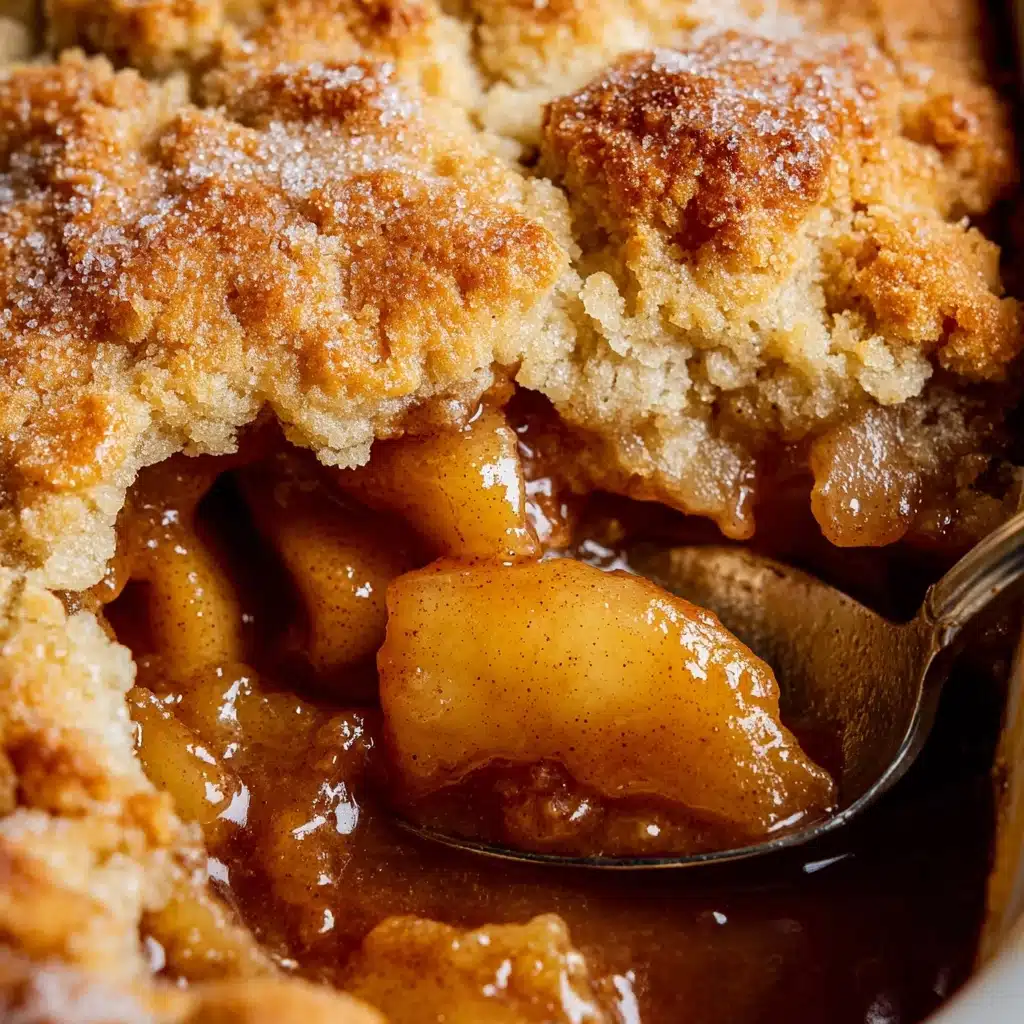
Let me share with you my absolute favorite Easy Recipe for Apple Cobbler that everyone will rave about. This cozy, comforting dessert combines tender spiced apples with a buttery, golden crust that’s perfectly crumbly and crisp. Whether you’re baking for family, friends, or just treating yourself, this recipe strikes the ideal balance of sweet, tart, and warmly spiced flavors that makes it irresistible. Plus, it’s straightforward enough to whip up any time you’re craving a slice of classic home-baked goodness.
Ingredients You’ll Need
All you really need for this Easy Recipe for Apple Cobbler are simple pantry staples and fresh apples, each bringing its own magic to the final dish. The mix of sugars, spices, and lemon brightens and enhances the apples, while the flour and butter build that tender yet crunchy topping everyone loves. Let’s look at what makes this dish so satisfying:
- Apples (5 pounds): Choose a variety for the best flavor — tart Granny Smiths add zing, while Gala and Golden Delicious bring sweet balance.
- Lemon zest and juice: Adds brightness to keep the apples from browning and gives a lovely fresh note.
- Granulated and brown sugar: Together they create a deep, caramel-like sweetness that complements the spices.
- All-purpose flour: Thickens the filling and forms the base of the crumbly topping for perfect texture.
- Cinnamon, nutmeg, cardamom (optional): A warm spice trio that adds depth and cozy aroma.
- Kosher salt: Enhances all the flavors and balances the sweetness.
- Vanilla extract: Rounds out the taste with a hint of comforting sweetness.
- Buttermilk: Makes the topping tender and flavorful — but a simple substitute works too!
- Egg: Helps bind the topping for a lovely crumb structure.
- Butter (cold, chopped): Creates that flaky, golden crust everyone hopes to find.
- Sugar (for topping): Sprinkled on top for added crunch and sparkle when baked.
- Vanilla ice cream (for serving): Not optional — the perfect creamy contrast to your warm cobbler.
How to Make Easy Recipe for Apple Cobbler
Step 1: Prepare the Apple Filling
Start by peeling about 5 pounds of apples — that’s roughly 9 to 11 large apples. I love mixing tart Granny Smiths with sweeter Gala and Golden Delicious to create a balanced flavor profile. Zest half a teaspoon of lemon peel into a large skillet, then squeeze in 3 tablespoons of fresh lemon juice to prevent the apples from browning and brighten the overall taste. Slice your apples thinly, about 1/8 inch, adding them to your skillet as you go and tossing gently in the lemon juice.
Step 2: Cook the Apples (Optional)
Once all your apples are sliced and in the skillet, sprinkle the sugars, flour, and spices over them. This mix adds sweetness, thickens the filling, and infuses it with cozy cinnamon, nutmeg, and cardamom. Cover and cook on medium heat for 20 minutes, gently stirring every few minutes until the apples are tender but still hold their shape. This step is optional if you want to bake the apples raw, but cooking brings out that beautiful caramel flavor.
Step 3: Add Vanilla and Transfer to Baking Dish
Take the skillet off the heat and stir in a teaspoon of vanilla extract. Then, transfer the apple filling and all the lovely juices into a 9×13-inch casserole dish. Allow it to cool just a few minutes while you prepare the topping.
Step 4: Make the Cobbler Topping
Preheat your oven to 375 degrees F. In a large bowl, whisk together the dry ingredients: 2 and 1/2 cups flour, 1 and 1/2 cups sugar, kosher salt, and baking powder. In a separate bowl, beat together the buttermilk and egg, then pour this into your dry mix. Use a pastry cutter or a fork to cut the wet ingredients into the flour until you get a shaggy dough – some dry spots are okay!
Step 5: Assemble and Bake
Pour or spread the dough evenly over the cooked apples in your baking dish. Toss cold, chopped butter pieces evenly over the dough, then sprinkle 2 tablespoons of sugar on top—mixing granulated and raw sugars adds a delightful crunch. Pop it into your oven for 45-55 minutes until the top is a gorgeous light brown and the filling bubbles enthusiastically. If you’re craving an extra crispy topping, broil for 1-3 minutes—but watch closely!
Step 6: Cool Slightly and Serve
While the cobbler should ideally cool completely, I say wait just 15 minutes to let everything settle before diving in. This cobbler is best enjoyed warm, paired with a generous scoop of vanilla ice cream that melts into every nook and cranny.
How to Serve Easy Recipe for Apple Cobbler

Garnishes
Serving your apple cobbler with vanilla ice cream is a no-brainer. For an extra touch, sprinkle a pinch of cinnamon or a drizzle of warm caramel sauce over the top. Fresh chopped walnuts or toasted pecans add a delightful crunch that beautifully contrasts with the tender apples.
Side Dishes
This Easy Recipe for Apple Cobbler stands wonderfully on its own but can be paired with a warm cup of coffee or freshly brewed tea for a perfect cozy dessert experience. For holiday dinners, serve alongside whipped cream or a drizzle of heavy cream infused with a touch of bourbon for grown-up flair.
Creative Ways to Present
Try baking individual cobblers in ramekins for a charming presentation that’s perfect for dinner parties or gifts. Alternatively, scoop warm cobbler into glass parfait cups layered with toasted granola or crumble topping for an inviting dessert take on a trifle. Presentation is part of the fun, and this cobbler is so versatile it adapts beautifully!
Make Ahead and Storage
Storing Leftovers
Store any leftover cobbler loosely covered at room temperature for up to two days; after that, transfer it to the refrigerator to keep it fresh for up to five days. The flavors actually deepen with a day or two of resting, making leftovers a secret bonus treat.
Freezing
Wrapped tightly in plastic wrap and foil, the cobbler freezes beautifully for up to three months. Thaw overnight in the refrigerator before reheating, so you can enjoy that homemade goodness anytime you like without losing flavor or texture.
Reheating
Reheat your cobbler gently in the oven at 325 degrees F for about 15-20 minutes until warm and bubbly. Avoid microwaving if you want to keep the topping crisp—oven reheating preserves that perfect texture that makes this dish so special.
FAQs
Can I use frozen apples for this recipe?
Fresh apples are always best for this Easy Recipe for Apple Cobbler because they hold their shape better and provide the best texture. Frozen apples tend to release more water and can make your cobbler soggy, but if that’s what you have, thaw and drain them well before using.
What if I don’t have buttermilk?
No worries! You can easily make a buttermilk substitute by mixing 1/2 cup of milk with 1/2 tablespoon lemon juice or vinegar. Let it sit for five minutes to thicken before using in your topping.
Is it necessary to cook the apples before baking?
This step is totally optional depending on your texture preference. Cooking the apples softens them and melds the flavors beautifully, but if you’re in a hurry, you can place the raw sliced apples directly into the baking dish with the dry ingredients on top.
Can I make this cobbler gluten-free?
Absolutely! Use a gluten-free all-purpose baking flour blend that includes xanthan gum for structure. The texture may vary slightly, but the flavors will still shine through beautifully in this Easy Recipe for Apple Cobbler.
How do I get that extra crispy topping?
Sprinkling sugar over the butter chunks before baking helps create a crunchy crust. If you want even more crispiness, broil the cobbler for 1-3 minutes at the end of baking—watching carefully so it doesn’t burn.
Final Thoughts
This Easy Recipe for Apple Cobbler is a true crowd-pleaser that feels like a warm hug on a plate. From the tender spiced apples to the buttery, crisp topping, every bite is pure happiness. Whether it’s a weeknight treat or a holiday centerpiece, this cobbler is simple enough to make anytime yet special enough to impress. Go ahead, grab those apples, and get baking — you’re going to love how effortlessly delicious this dessert is!