
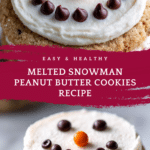
Melted Snowman Peanut Butter Cookies Recipe
Introduction
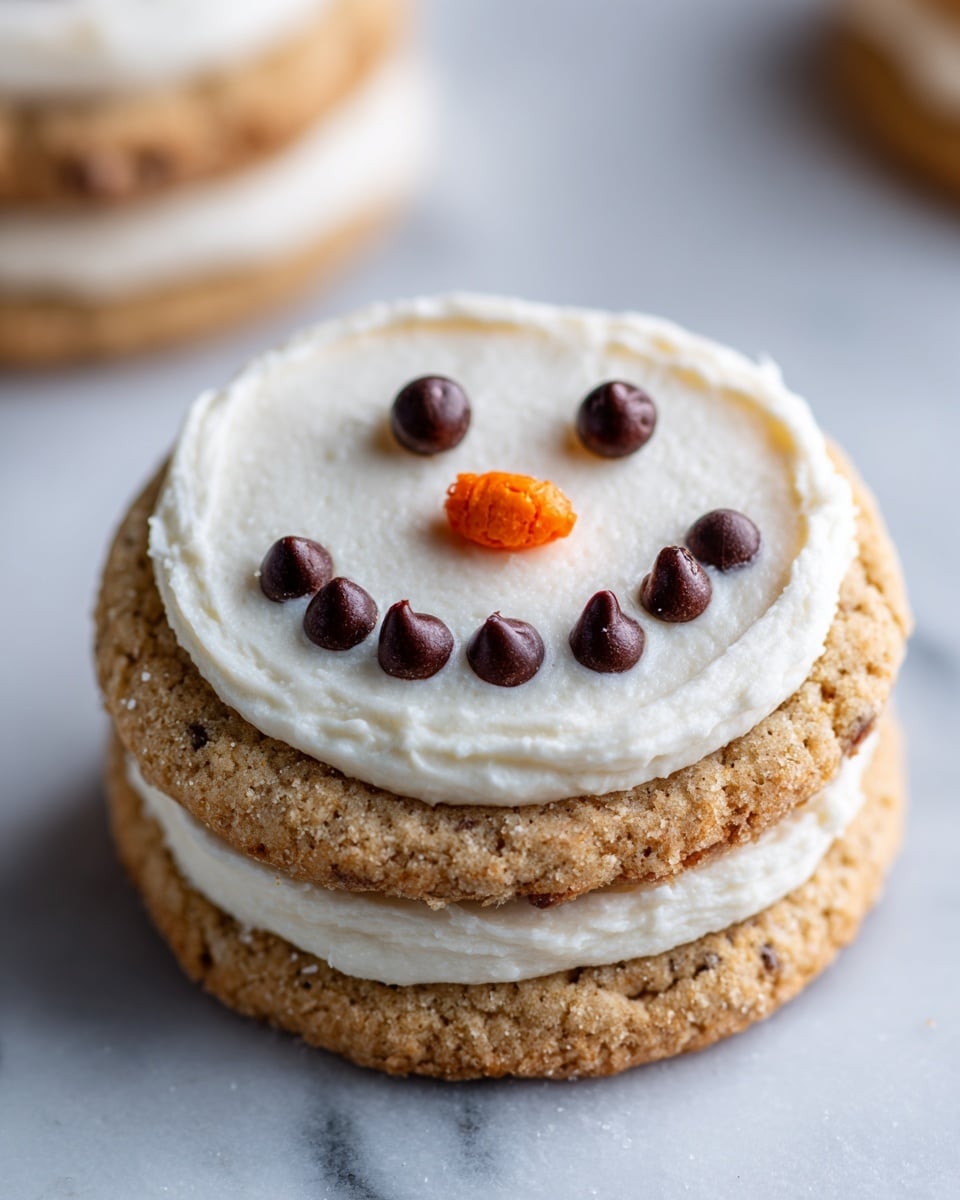
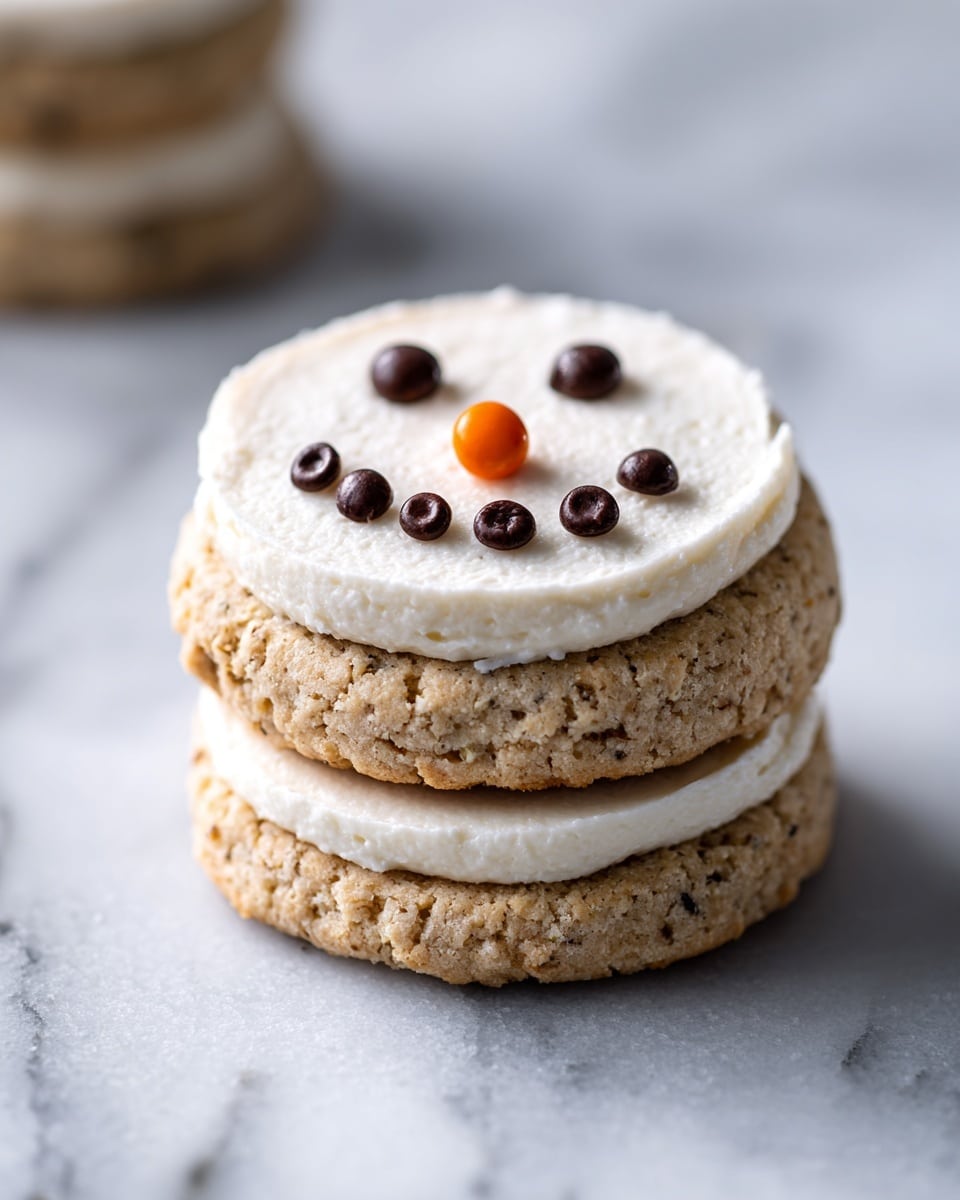
These Melted Snowman Peanut Butter Cookies combine the rich, nutty flavor of peanut butter with fun, festive marshmallow snowmen on top. They’re perfect for holiday celebrations or any time you want a playful, delicious treat that delights both kids and adults.
Ingredients
- 1/2 cup unsalted butter, softened
- 1/2 cup granulated sugar
- 1/2 cup brown sugar, packed
- 3/4 cup creamy peanut butter
- 1 large egg
- 1 teaspoon vanilla extract
- 1 1/4 cups all-purpose flour
- 1/2 teaspoon baking powder
- 1/2 teaspoon baking soda
- 1/4 teaspoon salt
- 12 large marshmallows
- 1 cup white vanilla melting wafers or white chocolate
- Black decorating gel or melted dark chocolate
- Orange decorating gel
Instructions
- Step 1: In a large bowl, cream together the softened butter, granulated sugar, and brown sugar until fluffy.
- Step 2: Add peanut butter, egg, and vanilla extract. Mix until well combined.
- Step 3: In a separate bowl, whisk together the flour, baking powder, baking soda, and salt.
- Step 4: Gradually mix the dry ingredients into the wet mixture until just combined.
- Step 5: Preheat the oven to 350°F (175°C) and line baking sheets with parchment paper.
- Step 6: Scoop dough into balls and place them 2 inches apart on the baking sheets.
- Step 7: Bake for 9–11 minutes until edges are golden and centers are soft.
- Step 8: Immediately press one large marshmallow into the center of each cookie. Let cool for 2 minutes before moving.
- Step 9: Melt the white chocolate or melting wafers in 30-second intervals, stirring until smooth.
- Step 10: Spoon melted chocolate over each marshmallow to create the appearance of melting snow.
- Step 11: Use black decorating gel or melted dark chocolate to draw eyes, a smile, and buttons; use orange decorating gel to add a carrot-shaped nose.
- Step 12: Allow the decorations to set at room temperature or chill briefly to speed up the process.
Tips & Variations
- For extra flavor, toast the marshmallows lightly under the broiler before decorating.
- Substitute crunchy peanut butter if you prefer a bit of texture in your cookies.
- Use colored melting wafers for a more whimsical snowman effect.
- If you don’t have decorating gels, use small candy pieces or edible markers to add facial features.
Storage
Store these cookies in an airtight container at room temperature for up to 3 days. To preserve the marshmallow and decorations, avoid refrigeration as it can cause the marshmallows to become sticky. If you need to store them longer, freeze the cookies without decorations and add the melted snowman details after thawing.
How to Serve
Serve this delicious recipe with your favorite sides.
FAQs
Can I use peanut butter powder instead of creamy peanut butter?
Peanut butter powder can be used, but you will need to adjust the wet ingredients accordingly since it’s not as creamy. It’s best to stick with creamy peanut butter for the best texture and flavor.
How do I prevent the marshmallows from burning in the oven?
Press the marshmallows onto the cookies immediately after baking, rather than before. This way, the marshmallows warm up and stick to the soft cookies without direct heat that would cause burning.
Print
Melted Snowman Peanut Butter Cookies Recipe
- Total Time: 25 minutes
- Yield: 12 cookies 1x
Description
These Melted Snowman Peanut Butter Cookies are a festive and delicious treat perfect for holiday celebrations. Soft and chewy peanut butter cookies are topped with large marshmallows, then covered with melted white chocolate to create a melting snow effect. Finished with fun decorating gels for the snowman’s face and buttons, these cookies are sure to delight kids and adults alike.
Ingredients
Cookie Dough
- 1/2 cup unsalted butter, softened
- 1/2 cup granulated sugar
- 1/2 cup brown sugar, packed
- 3/4 cup creamy peanut butter
- 1 large egg
- 1 teaspoon vanilla extract
- 1 1/4 cups all-purpose flour
- 1/2 teaspoon baking powder
- 1/2 teaspoon baking soda
- 1/4 teaspoon salt
Toppings and Decoration
- 12 large marshmallows
- 1 cup white vanilla melting wafers or white chocolate
- Black decorating gel or melted dark chocolate
- Orange decorating gel
Instructions
- Cream the butter and sugars: In a large bowl, cream together the softened butter, granulated sugar, and brown sugar with an electric mixer until the mixture is light and fluffy.
- Add wet ingredients: Mix in the peanut butter, egg, and vanilla extract until well combined and smooth.
- Mix dry ingredients: In a separate bowl, whisk together the all-purpose flour, baking powder, baking soda, and salt to evenly distribute the leavening agents.
- Combine dry and wet: Gradually add the dry ingredients to the wet mixture, stirring just until combined to avoid overmixing.
- Preheat oven: Preheat your oven to 350°F (175°C) and line baking sheets with parchment paper to prevent sticking.
- Form cookie balls: Scoop the cookie dough into roughly 1.5-inch balls and place them on the prepared baking sheets, spacing about 2 inches apart.
- Bake cookies: Bake in the preheated oven for 9–11 minutes until the edges are golden and the centers remain soft.
- Press marshmallows: Immediately after removing from the oven, press one large marshmallow onto the center of each cookie. Allow cookies to cool on the baking sheet for 2 minutes before transferring.
- Melt white chocolate: Melt the white vanilla melting wafers or white chocolate in 30-second intervals in the microwave, stirring each time until smooth.
- Decorate marshmallows: Spoon the melted white chocolate over each marshmallow to create a dripping, melting snow effect.
- Add facial features: Use black decorating gel or melted dark chocolate to draw eyes, a smile, and buttons. Use orange decorating gel to create the snowman’s nose.
- Set decorations: Let the decorated cookies set at room temperature or chill briefly in the refrigerator to firm up the chocolate and gels.
Notes
- For best results, use fresh marshmallows and melt white chocolate gently to avoid burning.
- You can substitute peanut butter with any nut or seed butter if allergies are a concern.
- Ensure cookies cool slightly before decorating to prevent melting of gels and chocolate.
- Store cookies in an airtight container at room temperature for up to 3 days, or refrigerate for longer freshness.
- Prep Time: 10 minutes
- Cook Time: 11 minutes
- Category: Dessert
- Method: Baking
- Cuisine: American
Keywords: peanut butter cookies, holiday cookies, snowman cookies, festive cookies, marshmallow cookies, white chocolate, holiday treats
