
Mini Charcuterie Cups Recipe
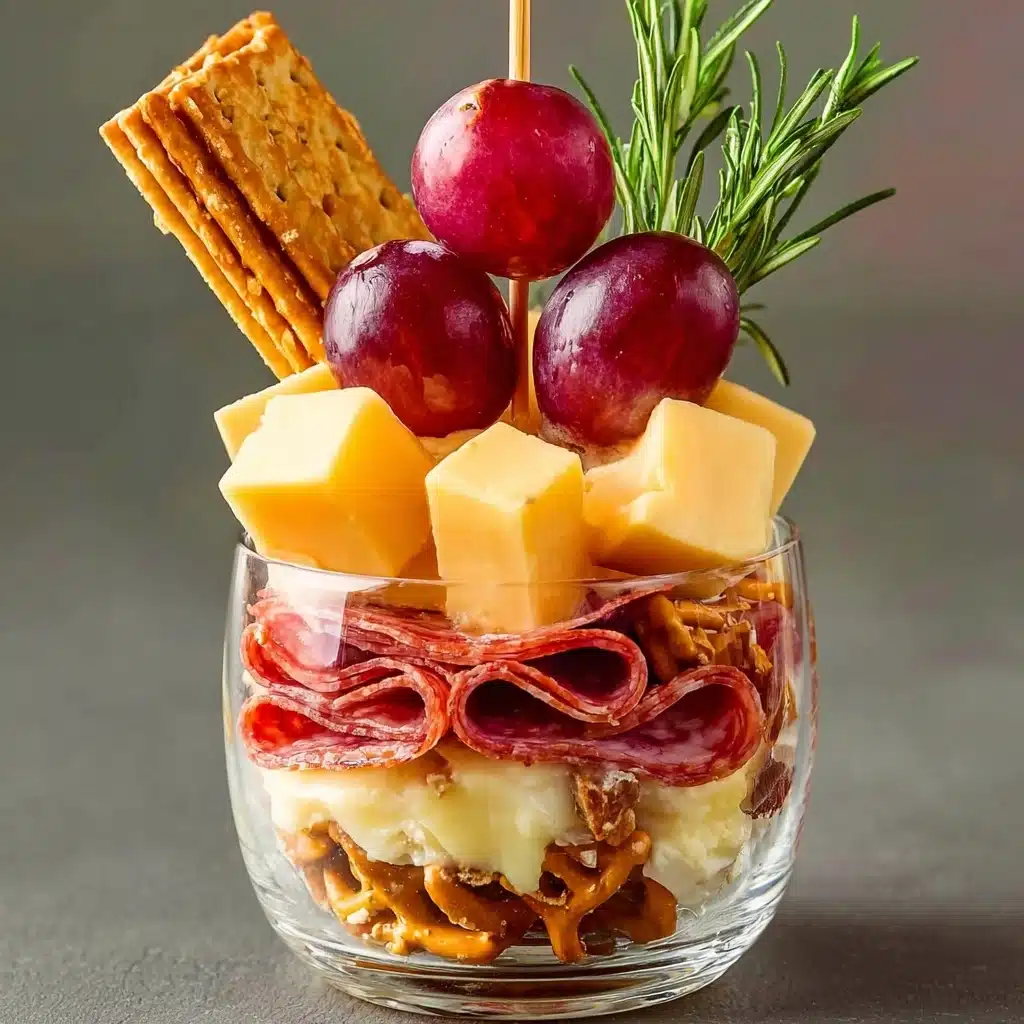
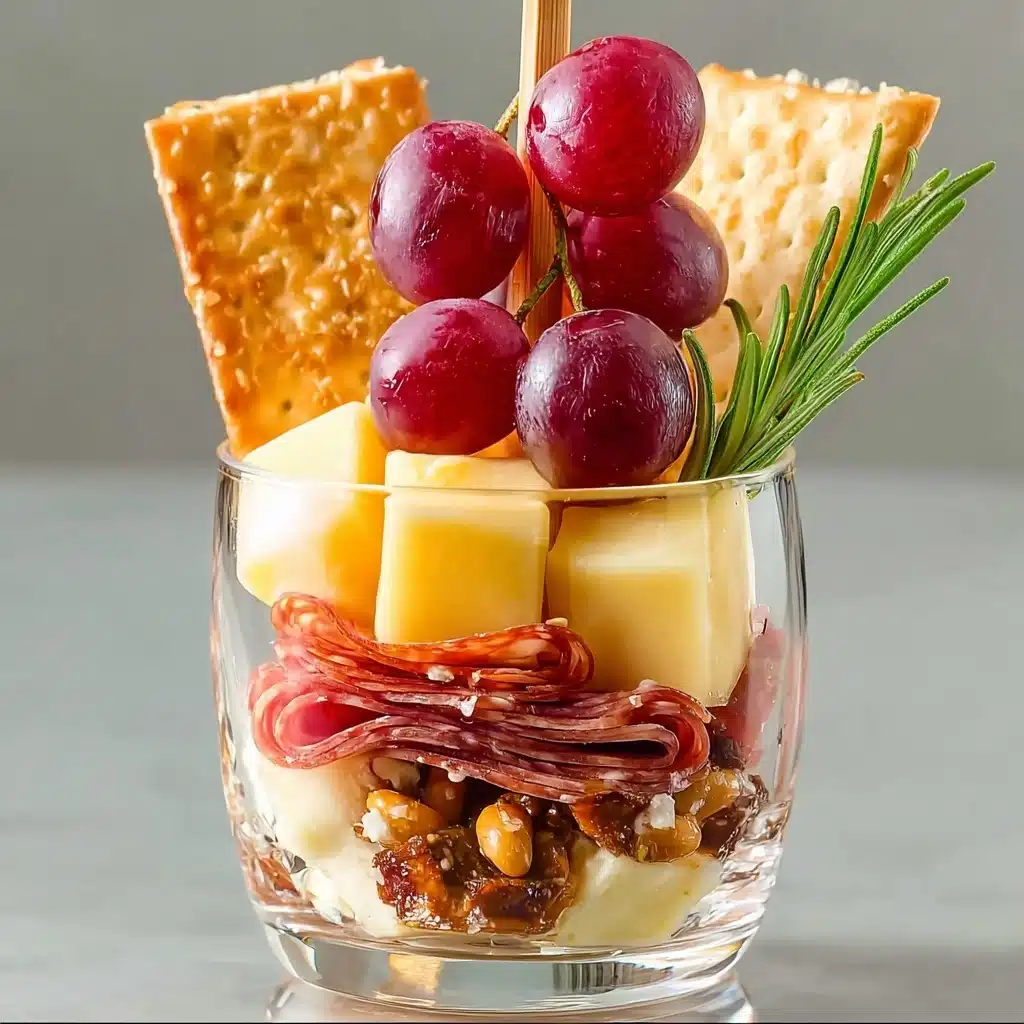
If you’re looking for a charming, bite-sized party treat that bursts with flavor and visual appeal, Mini Charcuterie Cups are exactly what you need. These delightful little cups are packed with a variety of cheeses, meats, fruits, and nuts, all perfectly portioned so everyone can enjoy their own personal medley of tastes. Whether you’re hosting a casual gathering or an elegant soirée, these Mini Charcuterie Cups offer the perfect balance of savory, sweet, and crunchy elements, making them a guaranteed hit at any event.
Ingredients You’ll Need
The beauty of Mini Charcuterie Cups lies in their simplicity and vibrant variety. Each ingredient is carefully chosen not only for flavor but also for texture and color, creating a symphony of tastes and a feast for the eyes.
- Cheddar cheese: Sharp and creamy, cut into cubes to add a bold flavor and firm texture.
- Gouda or brie cheese: Choose creamy gouda or soft brie sliced into wedges for a smooth, rich contrast.
- Salami or prosciutto: Thin slices rolled into rosettes add a savory, slightly salty bite with visual elegance.
- Red grapes: Sweet and juicy, these add a refreshing burst and beautiful color.
- Green olives: Their briny flavor perfectly balances the richness of the cheese and meat.
- Crackers: Provide crunch and serve as a base layer making each cup texturally satisfying.
- Mixed nuts: Add an earthy crunch and nutty complexity that complements the other flavors.
- Fresh rosemary sprigs: Used as garnish, they impart a subtle herbal aroma and make each cup stunningly inviting.
How to Make Mini Charcuterie Cups
Step 1: Prepare the Cheeses
Start by cutting your cheddar cheese into bite-sized cubes, which gives a nice, firm texture that’s easy to pop into your mouth. Then, slice the gouda or brie into small wedges for a creamy softness that contrasts beautifully with the cheddar.
Step 2: Roll the Meats
Next, take your salami or prosciutto slices and roll or fold them into delicate rosettes or ribbon shapes. This not only looks gorgeous in the cups but makes them compact and easier to handle when eating.
Step 3: Layer Nuts and Crackers
Place a layer of mixed nuts and crackers at the bottom of each clear cup. This creates a crunchy foundation that will support the other ingredients nicely, preventing sogginess and adding texture variety from the first bite.
Step 4: Add Cheeses and Meats
Carefully insert the cheese cubes, wedges, and rolled meats upright into each cup. Pack them tightly so everything stands securely and looks inviting from every angle.
Step 5: Fill in with Grapes and Olives
Tuck the red grapes and green olives into the remaining spaces beside the meats and cheeses. Their vibrant colors and juicy flavors create a perfect balance to the savory ingredients.
Step 6: Garnish with Rosemary
Add a fresh sprig of rosemary into each cup as the final touch. Not only does it elevate the presentation, but it also adds a lovely herbal aroma that makes the whole experience more sophisticated.
Step 7: Optional Assembly Tip
If desired, use skewers or toothpicks to secure some of the meats or fruits. This makes handling easier for guests and keeps everything neatly in place.
Step 8: Chill Before Serving
Refrigerate your Mini Charcuterie Cups for up to three hours to let the flavors meld. Just before serving, let them sit at room temperature for about 15 minutes to bring out the best aroma and taste.
How to Serve Mini Charcuterie Cups
Garnishes
Besides the fresh rosemary sprig, you can embellish your Mini Charcuterie Cups with a drizzle of honey or a sprinkle of cracked black pepper for an extra layer of flavor that surprises and delights.
Side Dishes
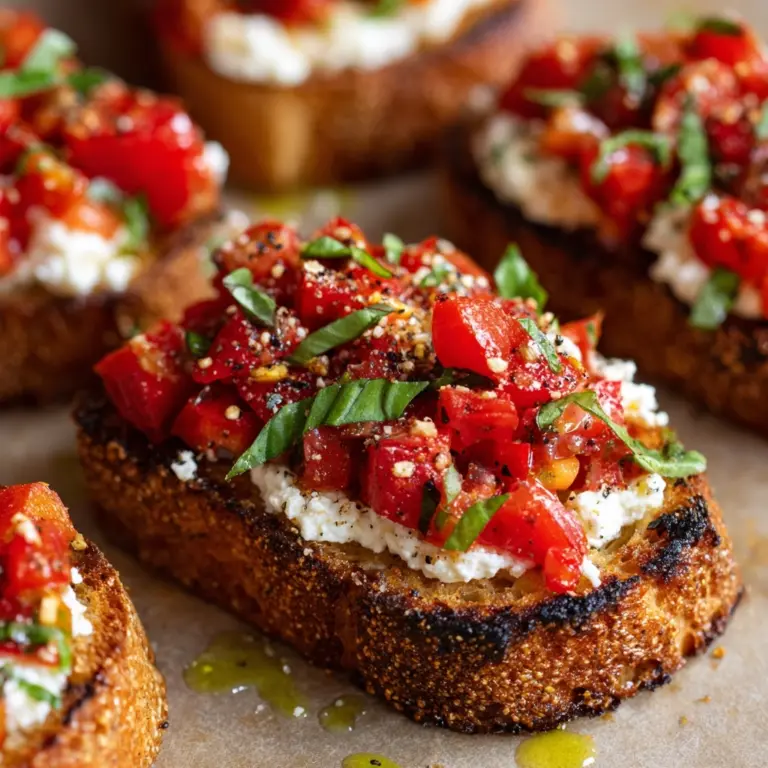
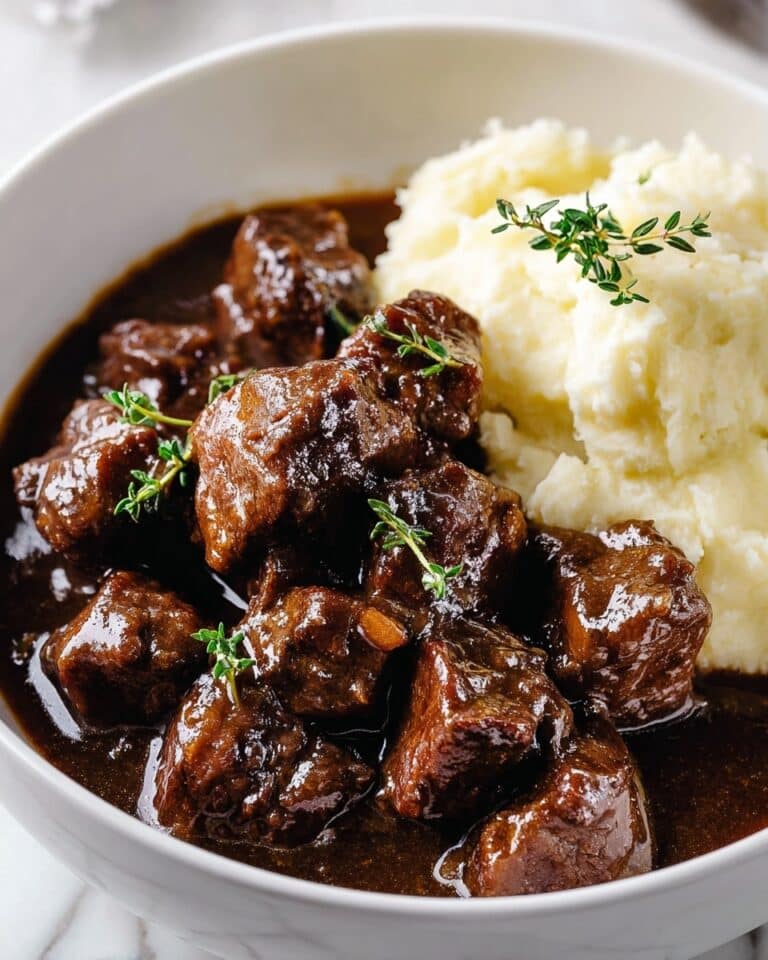
Serve alongside light salads, crusty bread, or a crisp white wine to complement the complex flavors in the cups. Fresh fruit platters also work beautifully, adding even more color and sweetness.
Creative Ways to Present
For a stunning display, line the cups on a wooden board or decorative tray, alternating colors and ingredients to create visual excitement. You can also place the cups inside a larger flat basket lined with parchment for a rustic vibe that invites guests to help themselves.
Make Ahead and Storage
Storing Leftovers
If you happen to have any Mini Charcuterie Cups left over, cover them tightly with plastic wrap and refrigerate. They will stay fresh for up to 24 hours, but the crackers might lose some crunch, so it’s best to enjoy them as soon as possible.
Freezing
Because of the fresh ingredients like grapes and olives, freezing Mini Charcuterie Cups is not recommended, as it can alter the texture and flavor of these components.
Reheating
These cups are best served cold or at room temperature. There’s no need to reheat, as warming might compromise the texture and freshness, especially of the cheeses and meats.
FAQs
Can I use different cheeses for Mini Charcuterie Cups?
Absolutely! Feel free to swap in your favorite cheeses such as fontina, manchego, or blue cheese to tailor the cups to your taste preferences.
Are these Mini Charcuterie Cups suitable for kids?
Yes, they are! Just be sure to avoid strong cheeses and olives if the kids are sensitive to those flavors, and cut everything into small, manageable pieces.
Can I make Mini Charcuterie Cups vegan?
Definitely. Substitute the cheese and meats with plant-based alternatives like vegan cheese and marinated tofu or roasted vegetables to create a delicious vegan version.
What size cups work best for Mini Charcuterie Cups?
Clear plastic or glass cups that hold about 4–6 ounces are perfect. They’re small enough to be bite-sized but large enough to fit all the ingredients comfortably.
How long can Mini Charcuterie Cups sit out at a party?
For food safety, it’s best not to leave the cups out for more than two hours. Keep extras refrigerated and replenish as needed to ensure freshness and safety.
Final Thoughts
Mini Charcuterie Cups are a total game-changer when it comes to party snacks. Their colorful, flavorful layers not only look amazing but invite everyone to dig in and enjoy a variety of tastes all at once. Once you try these, they’ll become your new go-to appetizer for entertaining with flair and ease. So why not whip up a batch and watch them disappear in no time?
Print
Mini Charcuterie Cups Recipe
- Total Time: 15 minutes
- Yield: 6 servings 1x
- Diet: Low Salt
Description
Mini Charcuterie Cups are an elegant and convenient appetizer featuring a delightful combination of cheeses, cured meats, fruits, nuts, and crackers, all assembled in individual clear cups. Perfect for parties and gatherings, these bite-sized cups offer a visually appealing and flavorful way to enjoy a classic charcuterie experience with ease.
Ingredients
Cheeses
- 3 ounces cheddar cheese, cut into bite-sized cubes
- 3 ounces gouda or brie, cut into triangle wedges
Meats
- 6 slices salami or prosciutto, rolled or folded into rosettes or ribbons
Fruits and Olives
- 1 cup red grapes
- 1 cup green olives
Other
- 1 cup crackers
- 0.5 cup mixed nuts
- 6 sprigs fresh rosemary for garnish
Instructions
- Prepare the cheeses: Cut cheddar cheese into bite-sized cubes and gouda or brie into triangle wedges for a pleasing visual variety in the cups.
- Shape the meats: Roll or fold the salami or prosciutto slices into attractive rosettes or ribbons to add texture and height within the cups.
- Layer nuts and crackers: Add a layer of mixed nuts and crackers at the bottom of each clear cup to provide a crunchy base layer.
- Insert cheese and meats: Place the cut cheeses and folded meats tightly into the cup so they stand upright and fill the space evenly.
- Add fruits and olives: Tuck in red grapes and green olives beside the cheeses and meats to add freshness and color contrast.
- Garnish: Top each cup with a fresh rosemary sprig to add aroma and an attractive finishing touch.
- Optional securing: Use skewers or toothpicks to hold together meats or fruits if desired, making the cups easier to handle and eat.
- Chill and serve: Refrigerate the cups for up to 3 hours before serving. Let them sit at room temperature for 15 minutes prior to serving to enhance flavor and texture.
Notes
- Choose your favorite combination of cheeses and meats to customize the flavor profile.
- For a vegetarian option, omit the meats and increase cheese and fruit portions.
- Serve with extra crackers or bread on the side for added crunch.
- Make sure to not assemble too far in advance to maintain optimal freshness of ingredients.
- Rosemary sprigs are optional but add an elegant aromatic touch.
- Prep Time: 15 minutes
- Cook Time: 0 minutes
- Category: Appetizer
- Method: No cook assembly
- Cuisine: American
Nutrition
- Serving Size: 1 cup
- Calories: 220
- Sugar: 3g
- Sodium: 450mg
- Fat: 18g
- Saturated Fat: 7g
- Unsaturated Fat: 9g
- Trans Fat: 0g
- Carbohydrates: 7g
- Fiber: 1g
- Protein: 8g
- Cholesterol: 25mg
Keywords: mini charcuterie cups, appetizer, finger food, party snack, cheese and meat cups, easy appetizer, no cook

